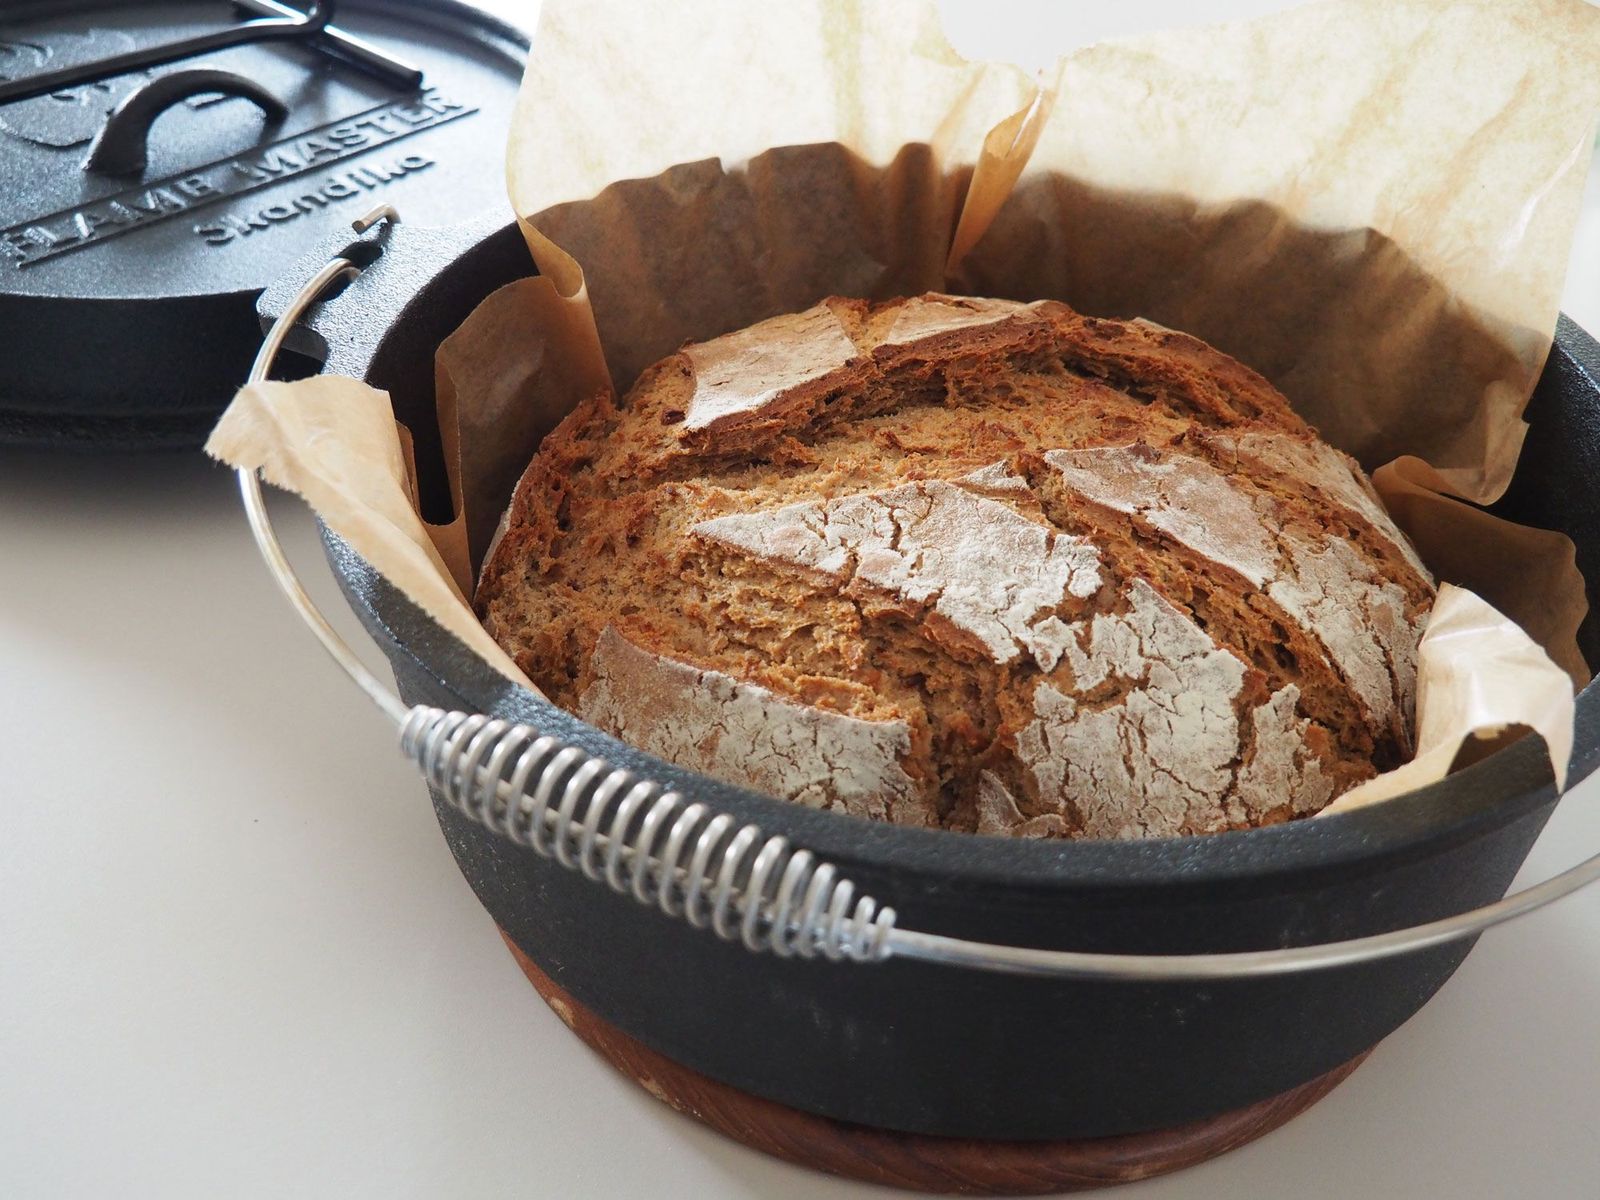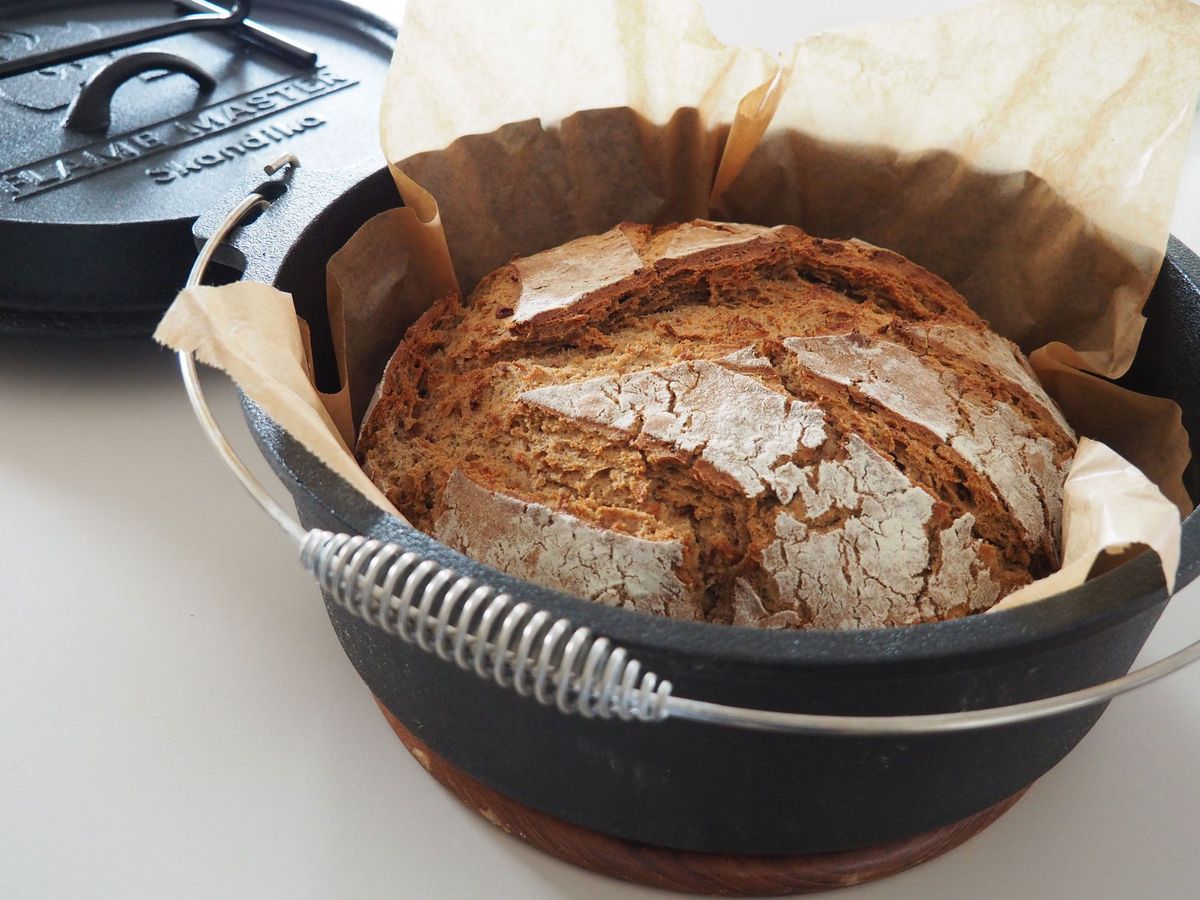
Bread from the Dutch Oven
The various spices and diced ham give the bread a wonderful flavour
Gesamtzeit
2 hrs 20 min.
Zubereitungszeit
20 min.
Schwierigkeit
Medium
Utensils
Dutch Oven 7.1 litres
Briquettes 22-26 pieces
Bowl for the dough
dough hook
Ingredients for one loaf
| 750 g | flour - either wheat, rye or mixed |
| 500 ml | lukewarm water |
| 1/2 cube | fresh yeast or 1 packet of dry yeast |
| 1 tsp | sugar |
| 2 tsp | salt |
| A little | pepper |
| 1 tsp | fennel seeds |
| 1 tsp | caraway seeds |
| 80 g | diced ham or fried onions (optional) |
| Optional | further spices to taste |

All Dutch Oven for Outdoor & at home
Delicious bread from the Dutch oven is perfect for a snack on a hike, as breakfast after a cosy night in the tent or simply as a snack between meals. The bread is also very easy to prepare at home in the oven.
Tip for outdoor baking: It's best to prepare the dough for the bread from the pot in your kitchen - it will rise nicely at room temperature and you can use your food processor to knead it!
Preparation with briquettes Prepare about 22-26 briquettes. Depending on the size, you should place 7-9 briquettes under the Dutch Oven and around 15-17 on the lid when baking.
Preparation in the oven Preheat the oven to 200° C top and bottom heat. Place the Dutch Oven in the oven earlier while the dough is still rising. Around 30 minutes is recommended. This way, it will already be warm when you put the dough in to bake at a later stage. Be careful not to burn yourself.
Preparation
First crush the spices with a mortar and mix all the spices with the flour. If you want to intensify the flavour a little more, roast the caraway seeds in a pan for approx. 2 minutes beforehand.
Now mix the lukewarm water with the yeast and sugar - leave this mixture to stand in a warm place for about 15 minutes.
Optional: Fry the ham cubes in the meantime.
Using a dough hook, mix the yeast and sugar mixture with the remaining flour and water. Then fold in the diced ham or fried onions.
Cover and leave the dough to rise in a warm place for an hour.
Lay the dough out on a floured work surface and fold it from one side to the other - do not knead under any circumstances. To do this, take about a third of the dough from the left-hand side and fold it upwards and do the same with the right-hand side. This creates a kind of seam at the top.
Folding the dough helps the oxygen supply and the associated further activation of the yeast. It also gives the dough more structure.
Place the dough on the baking paper. Place the seam down and shape the dough into a round loaf. Dust the surface with a little flour and use a very sharp knife to cut a pattern of your choice. The baking paper ensures that the bread does not bake.
Grasp the baking paper at all four corners and place the dough and paper in the Dutch oven. Bake with the lid closed for around 30 minutes and then without the lid for a further 20 minutes to allow the dough to rise further and create a nice crust.
You can tell whether the bread is done baking by the tapping test: Take the bread out of the Dutch oven and tap the underside with your fingers. If it sounds hollow, the bread is ready. If it sounds dull, simply continue baking for a few minutes and repeat the knock test.

The bread from the Dutch Oven is best enjoyed with the right cold cuts. However, due to the many spices, simple butter and salt will also suffice.
