Ultimate Dutch Oven Guide - info & tips on the Dutch oven
Everything you need to know about the Dutch Oven
It is the perfect cooking utensil for all adventurers and lovers of outdoor cooking: the Dutch Oven, or DO for short or affectionately known as a pot. The cast iron pot can look back on centuries of pioneering history and has become very popular again in recent years. No wonder: it is an absolute all-rounder and versatile, so you don't have to go without the tastiest dishes even when camping. And at the same time, you can enjoy the idyllic campfire romance that cooking in the open air promises.
Below, we answer the most important questions about the Dutch oven and give you helpful tips on what to look out for. The ultimate Dutch Oven guide for you!
A brief digression: The history of the Dutch Oven
The Dutch Oven can look back on a long and eventful history. It was first mentioned in the 18th century in German and Dutch settlement areas in America. The Pennsylvania Dutch Germans were already using it for cooking, roasting and baking on an open flame back then. Historians disagree as to whether the "Dutch oven" has Dutch or German origins, as the settlers were often confused at the time. In South Africa, however, the traditional outdoor cooking pot appeared under the name potjie - which indicates a Dutch origin.
What is a Dutch Oven?
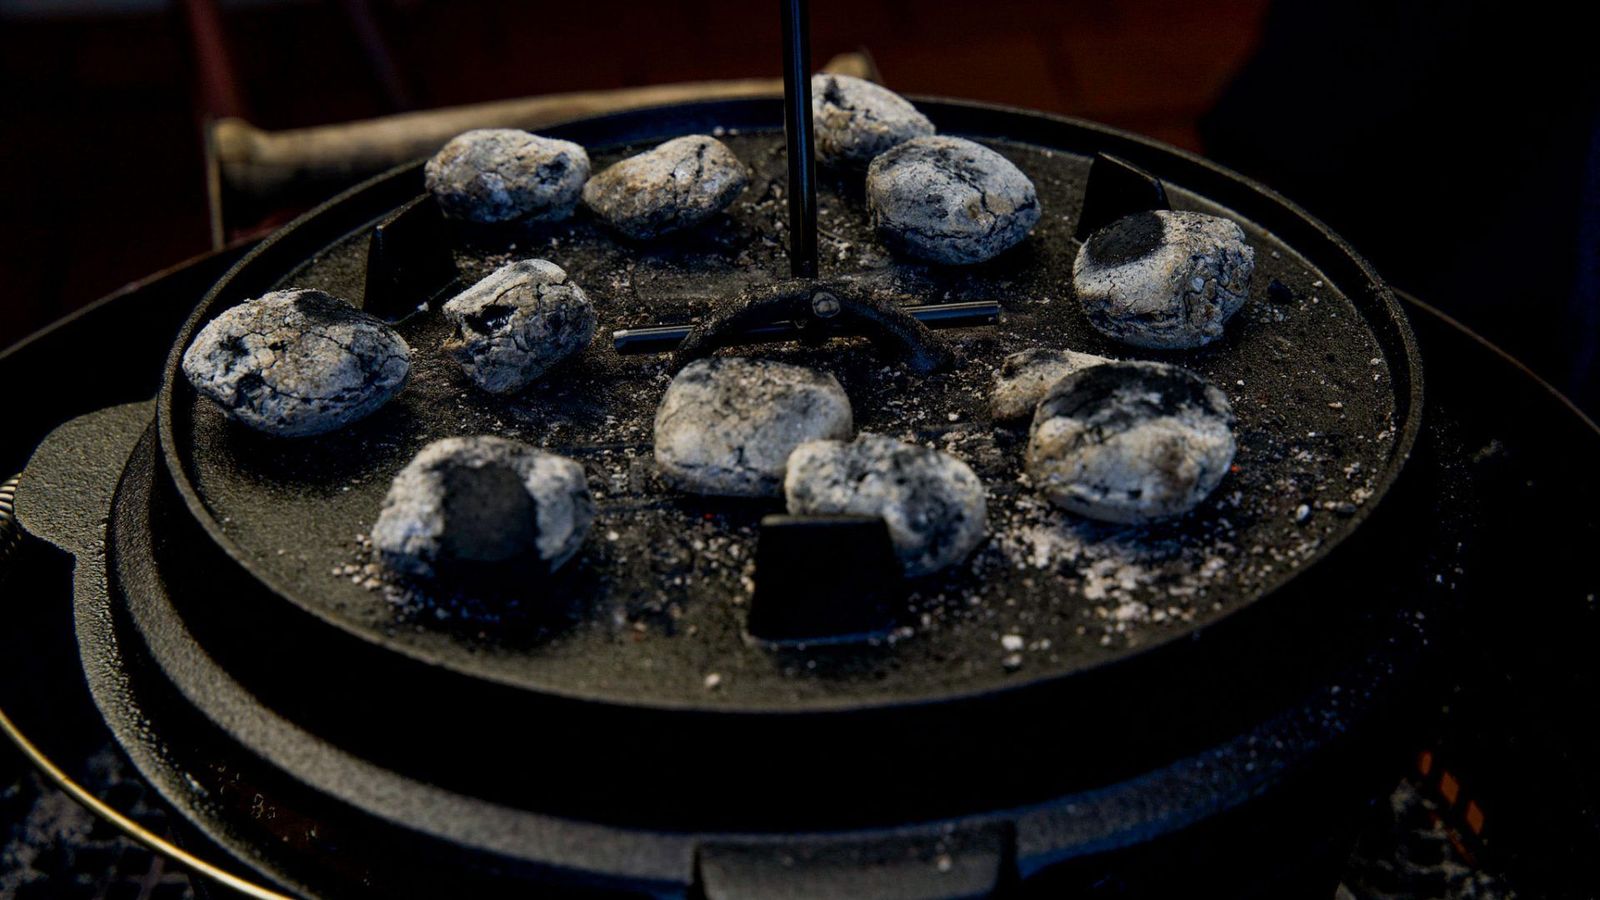
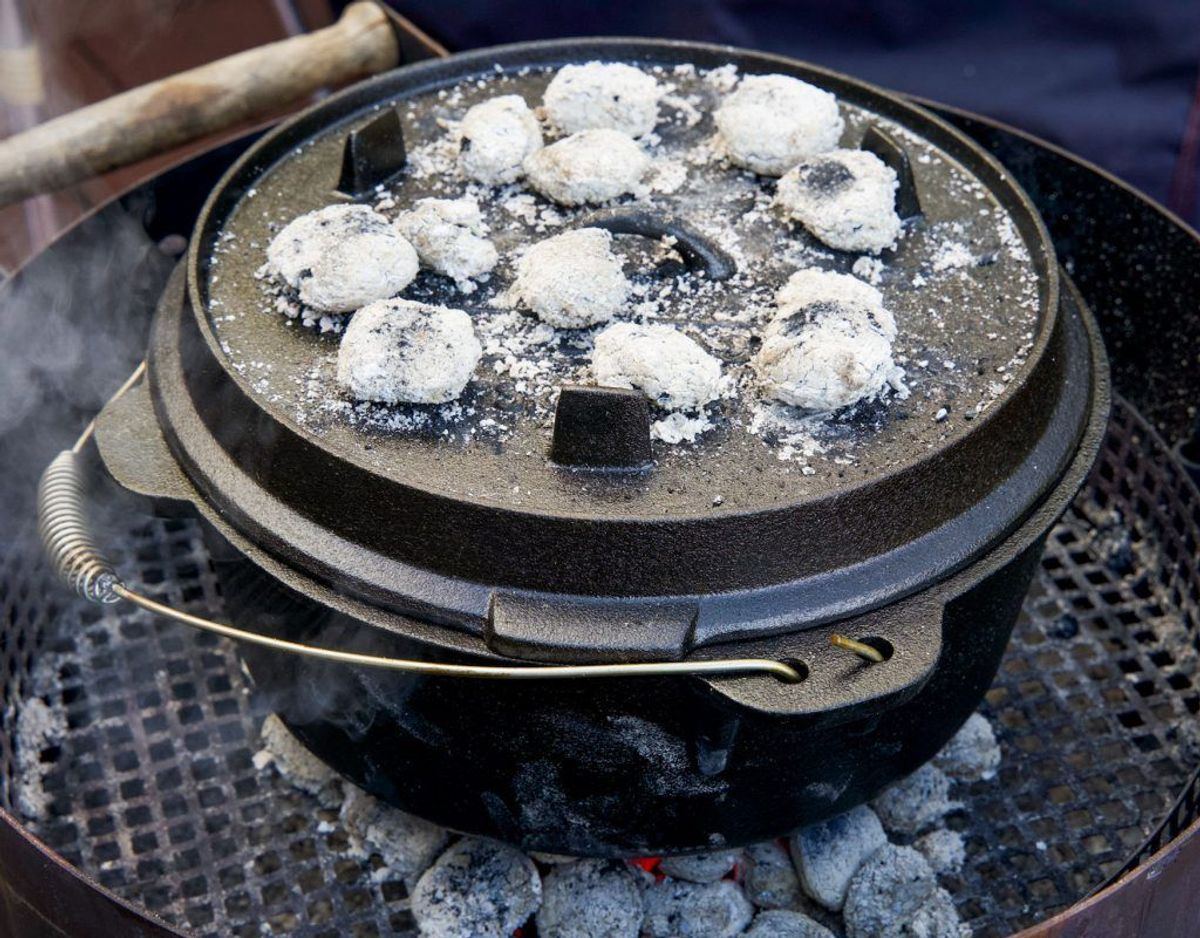
A Dutch oven is a pot made of cast iron with a lid that you can use on an open fire, barbecue, charcoal or in the kitchen at home on the hob or in the oven - depending on the design. The thick-walled cast iron is excellent at retaining heat. And it does so evenly and for a long time. Decisive factors for the quality of the Dutch Oven and even heat distribution include the material thickness, few casting defects and a consistent base thickness. You can look forward to gentle preparation and great roast flavours. The range of dishes you can prepare with the DO is immense. Dutch ovens are available today in a wide variety of sizes and shapes - but the basic design is still the same as it was hundreds of years ago.
What can the Dutch Oven do?
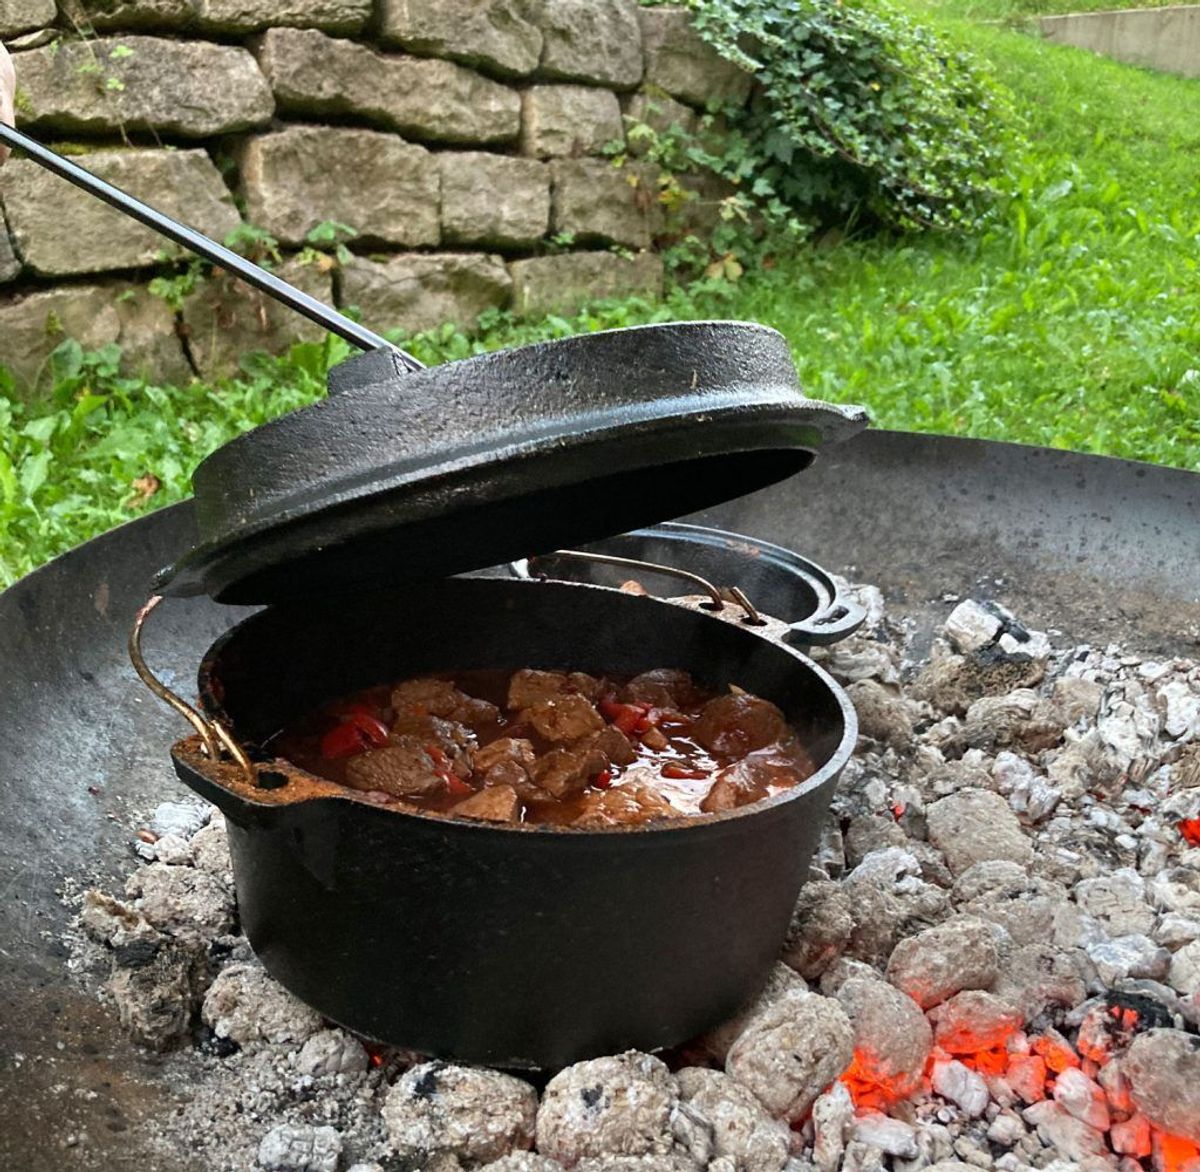
With the Dutch Oven, you really do have incredibly versatile options for preparing food. The Dutch Oven is a true all-rounder for cooking, braising, grilling, roasting, baking and deep-frying. You can put it in the fire, on the barbecue, in the oven or on the hob. We have some recipe ideas for you on what you can prepare:
- The Dutch Oven classic: layered meat
- Pulled chicken or pork, bacon bomb
- Stews such as goulash, chilli con carne or roasts
- Gratinated dishes such as casseroles and lasagne
- Curries, e.g. vegan coconut and lentil curry
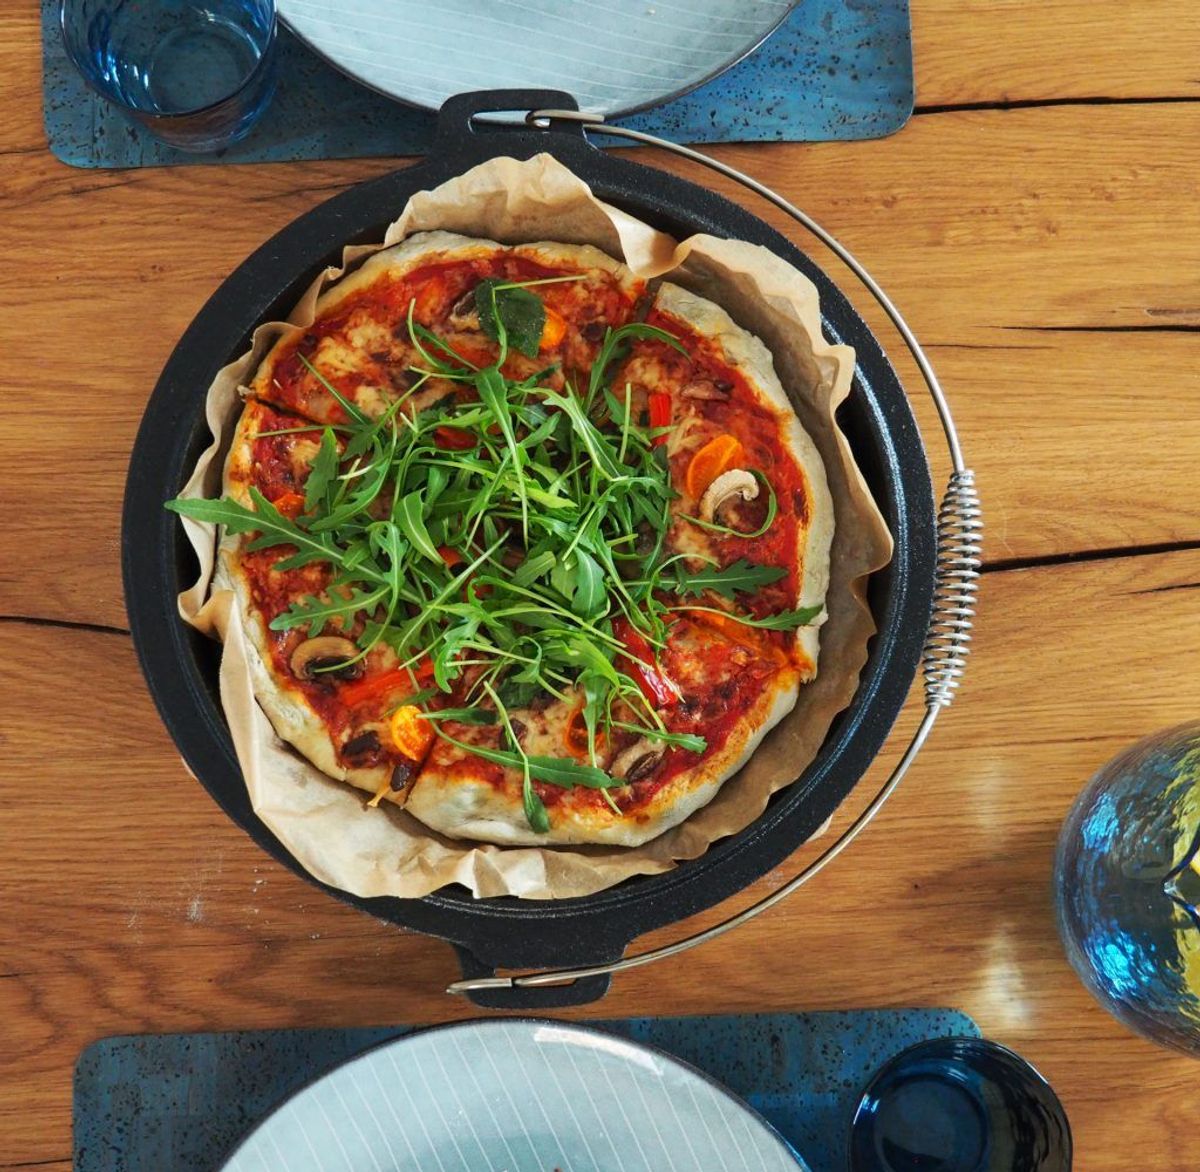
- pizza
- Stews and soups
- Baked goods such as breads, crumble and cakes
- And much more
You can find more Dutch Oven recipe ideas here.
What size Dutch Oven do I need?
The casserole is available in countless sizes, so you can find the right casserole for any number of guests.
Before buying a Dutch Oven, you should first consider whether you are mainly cooking for one person or for a large group. A small Dutch Oven of 2 litres is probably enough for 1-2 people, while a large Dutch Oven with 8 litres can feed around 6-8 people.
As a rough guide, you can say: **One litre of pot content should be calculated per person.
Dutch Oven with or without feet
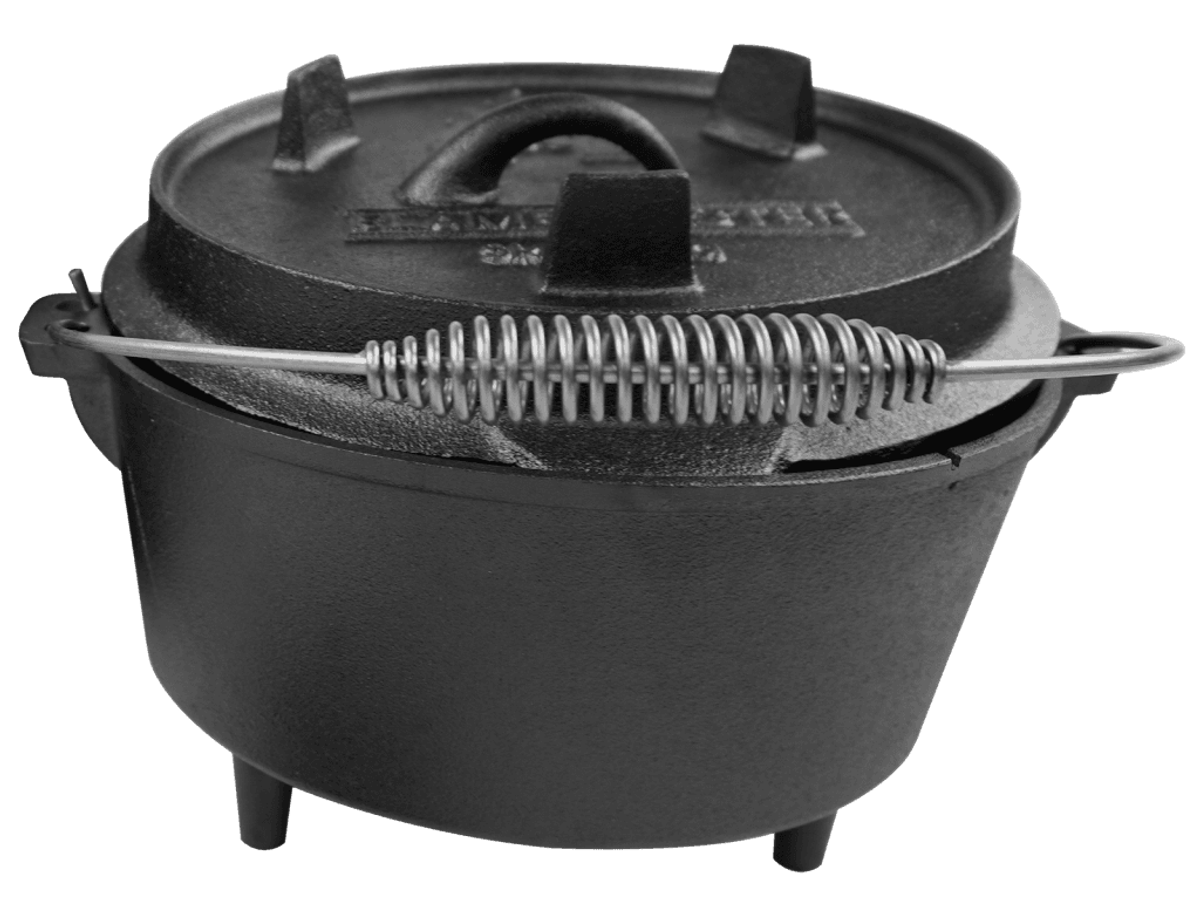
There are black pots with and without feet. A Dutch Oven with feet is definitely recommended for your outdoor adventure. This is because a three-legged Dutch oven is designed to be placed directly on the fire or to have charcoal placed underneath it. In addition to the pot, the lid can also have feet. Practical for using the lid alone as a hotplate.
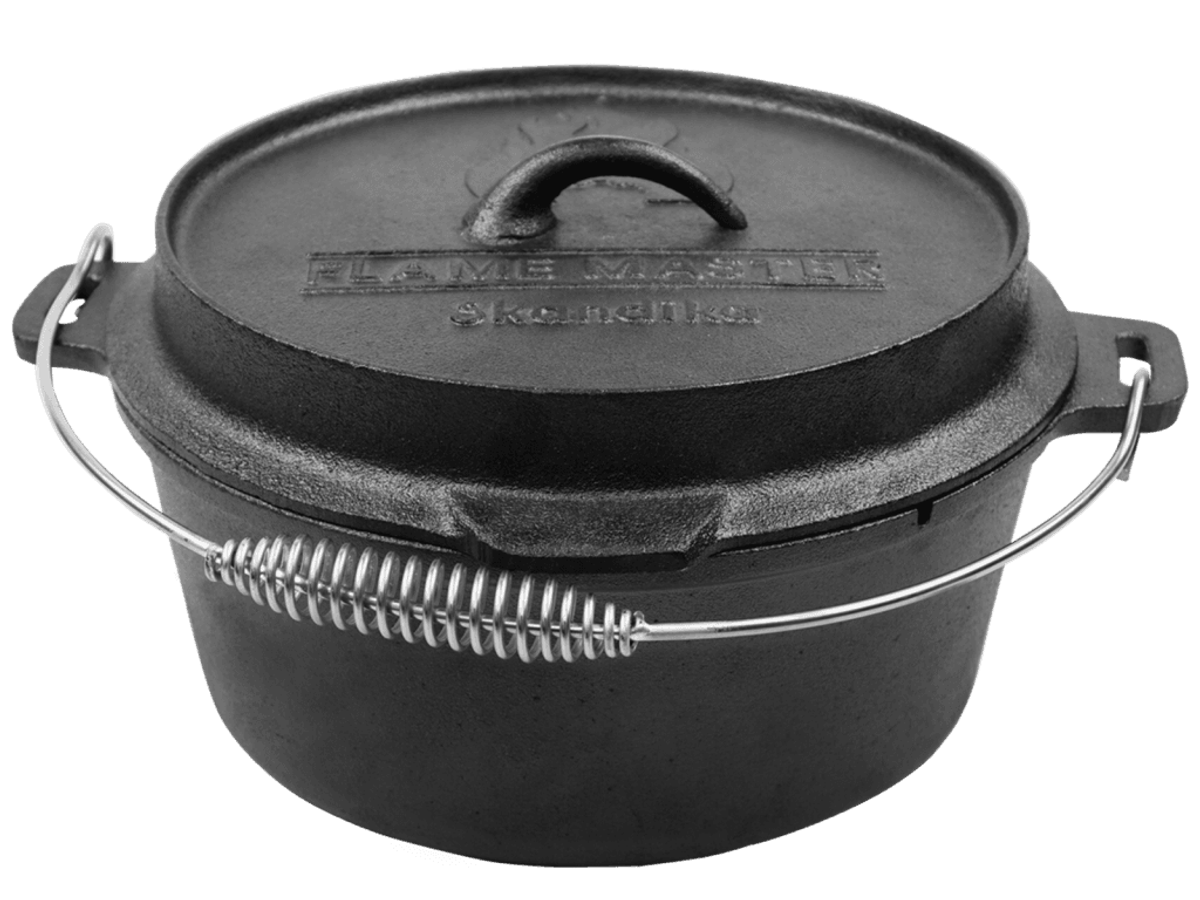
A Dutch oven without feet is ideal for everyday use at home on the hob, in the oven or on the barbecue. The lack of feet makes it easier and safer to place on a grid and ensures full contact with the hob.
Round and square Dutch ovens
Cast iron pots are available in three shapes: round, oval or square. Thanks to their different properties, some pots are more suitable for certain cooking projects. In principle, however, any Dutch Oven can be used for all dishes.
Round and oval black pots are particularly popular. For example, liquids such as soups and stews can be prepared very well in a round Dutch Oven. A angular Dutch Oven, on the other hand, is ideal for anything that requires a large base or surface area. In other words: ideal for gratinating.
The lid of a Dutch Oven
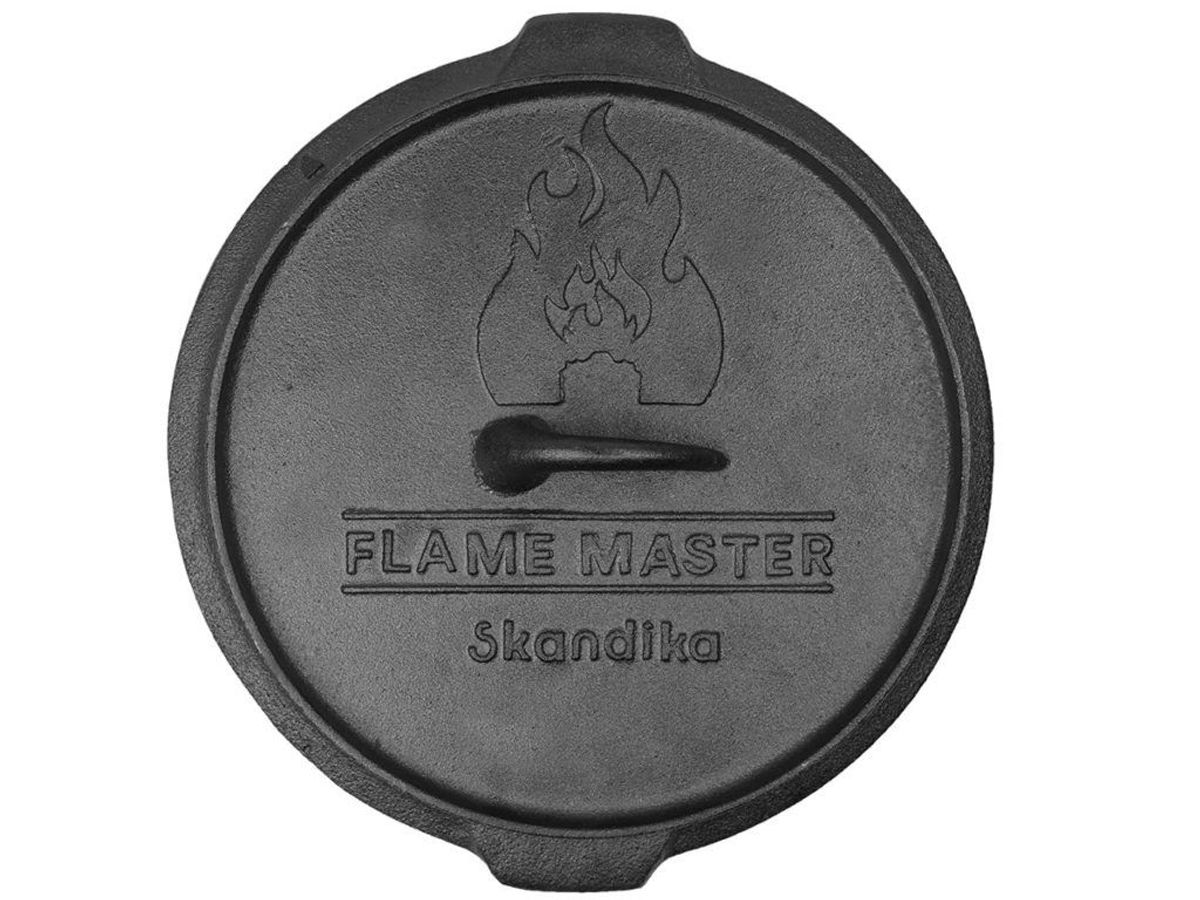
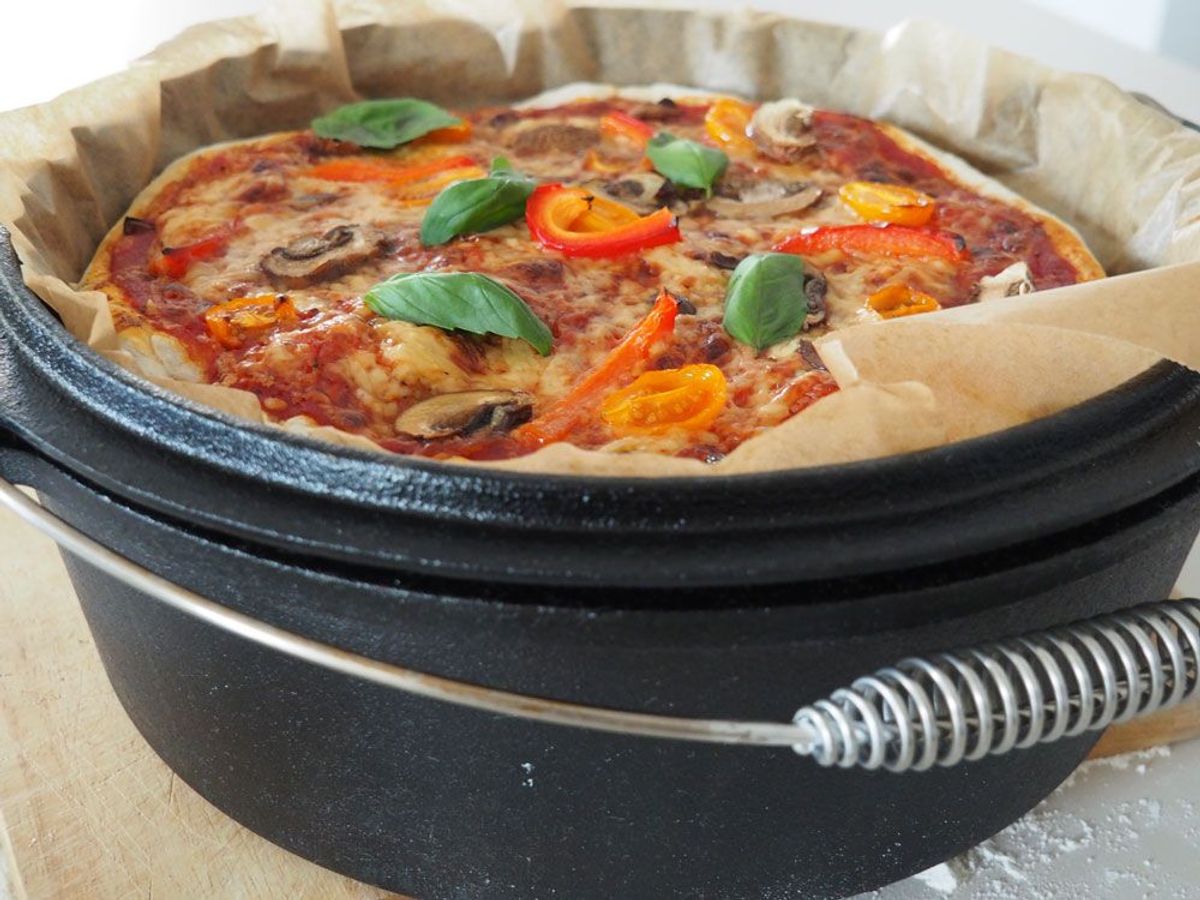
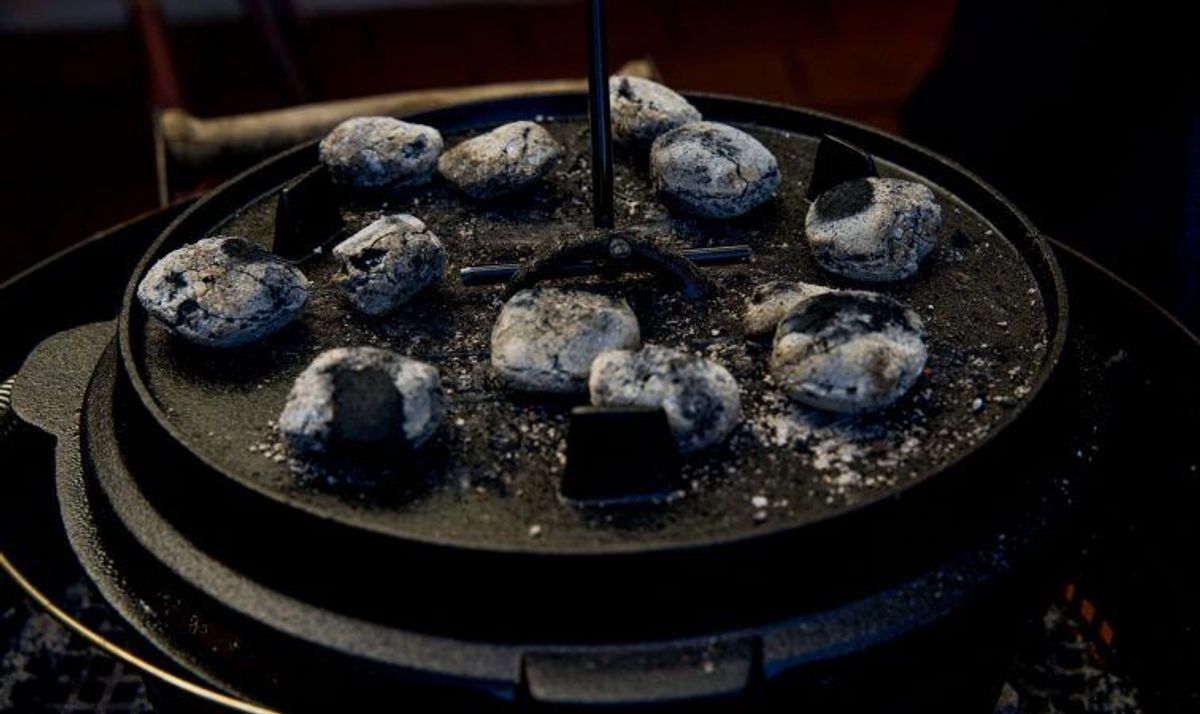
The lid is incredibly important for closing the pot properly. On the one hand, it is used to place hot coals on the fire pot for cooking. This allows the Black Pot to be used with top and bottom heat. On the other hand, it can be used upside down ideally as a frying pan for frying. If the lid has feet, it can also be used on its own as a hotplate or for baking pizzas.
Important: When buying a Dutch Oven, you should make sure that the lid fits properly and is flush with the pot. Only then can the Dutch oven work properly.
Why do I have to bake the Dutch Oven?
Quite simply: to protect the Dutch Oven. Baking creates a protective layer, the so-called patina, which ensures that no food burns, no rust develops and you can enjoy your cooking utensil for a long time. The patina consists of fat that is absorbed into the pores of the cast iron.
How do I bake the Dutch Oven?
You should definitely burn in the Dutch Oven before using it for the first time. All you need is heat and fat.
Use either a special care paste, neutral oil or a vegetable oil that you can heat to a high temperature. Coconut oil, sunflower oil or rapeseed oil are ideal. Olive oil, on the other hand, is unsuitable. You need a closed cooking space for the heat. This must be able to reach a temperature of 230 - 250° C. A kettle grill, for example, is recommended. Baking in the oven also works, but this can produce smoke that could trigger a smoke alarm. Caution is therefore advised here.
Firstly, the Dutch Oven must be completely greased inside and out. Once the grill or oven has reached the right temperature, you can place the pot and lid next to each other on the grid. Now wait until the oil slowly evaporates. During this process, the oil penetrates the coarse pores of the DO, sealing the cast iron. After approx. 15 - 20 minutes, all the oil should have evaporated. Remove any residue with kitchen paper and oil the pot and lid again. Then return the Dutch oven to the heat for a further 10 - 15 minutes. It is important that a light film of oil remains on the surface after cooling down. Then your casserole is ready for use!
Important: If the patina is damaged or rust forms after repeated use, you should definitely repeat the seasoning process. You should also avoid cooking acidic foods at the beginning.
How do I clean & care for the Dutch Oven?
The lifespan of a Dutch Oven depends on proper care. That's why you should pay attention to a few points to ensure that you can enjoy your Dutch oven for a long time.
Make sure that the DO has completely cooled down before you start cleaning it. This prevents thermal shock, which could warp the material. Never use washing-up liquid or steel brushes and sponges! These would destroy the patina of the Dutch Oven, which in turn leads to rust. Warm water and a standard brush or sponge are sufficient. A ring cleaner can also be used for stubborn stains. If the protective layer is damaged, the Dutch Oven must be re-baked.
After cleaning, the Dutch Oven must always be dried thoroughly** to prevent rust and should then be rubbed thinly with a heat-resistant and acid-free oil. This protects the patina - especially during storage.
How do I store the Dutch Oven correctly?
For storage you should choose a dry, but not closed place. To absorb any moisture, it is advisable to place some kitchen paper in the pot. Also place a piece of kitchen paper folded several times between the lid and the pot** so that the air can circulate.
Heating the Dutch Oven - briquettes, charcoal & open flame
There are different ways of fuelling the Dutch Oven Outdoor. One is the charcoal embers from the campfire, the other is specially developed briquettes. The open flame of the campfire can also be used to heat the Dutch Oven.
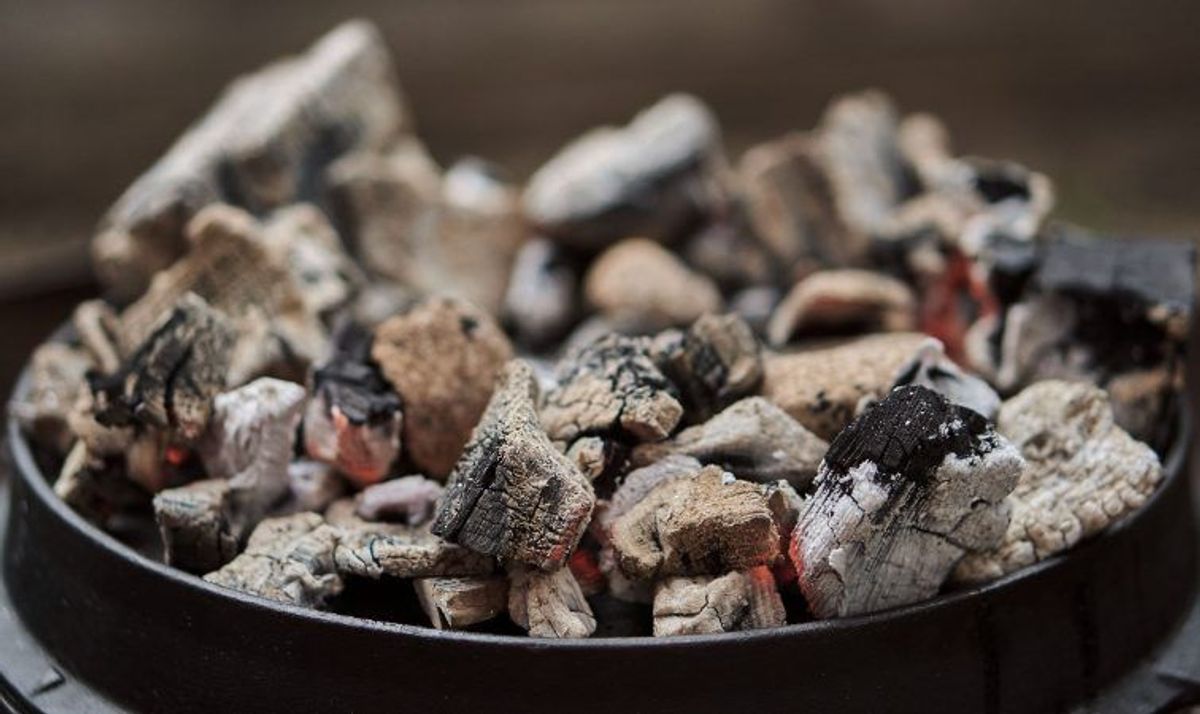
The simplest method - especially for beginners - is with briquettes. Unlike charcoal, briquettes burn much longer, so you don't have to keep adding fuel. In addition to the longer burning time, the consistent heat is one of the advantages. These two points make heating with briquettes much more plannable, controllable and safer. There are special briquettes for Dutch ovens that transfer the heat better to the DO due to their angular shape.
If you have a certain amount of experience and can judge how to reach the optimum temperature, you can also use embers from the campfire to heat up the DO. Bear in mind that you will need to allow for a certain amount of time before the embers are ready for use. It is also possible to prepare food over an open flame. However, this method is much more difficult to use than with briquettes, especially at the beginning.
How many briquettes do I need for the Dutch Oven?
Before you decide on the exact number of briquettes, you should heed the golden rule when handling the Dutch oven.
Golden rule: You can always add briquettes if the temperature is too low! Once the pan is too hot and the food is burnt, it is too late to try to save it.
There are a few points to consider when choosing the right number of briquettes. In addition to the size or content of the pot**, the *type of preparation* (cooking, roasting, braising etc.) and consequently the distribution on and under the fire pot also play a role. In addition, environmental influences such as temperature and wind must be taken into account. It is therefore difficult to make a generalised statement.
As far as distribution is concerned, you can use the following rules of thumb as a guide:
- When cooking, the heat primarily comes from below. Distribution: Two thirds of the briquettes are under the pan, one third on top.
- When braising, the heat comes evenly from above and below Distribution: Half of the briquettes are on top of the pan and half underneath.
- When roasting, the heat comes exclusively from below.
- When baking, the heat comes primarily from the top. Distribution: One third of the briquettes are under the pan, two thirds on top.
Note: It is advisable to use high-quality briquettes! Cheap briquettes often have the problem that they cannot maintain an even temperature or need to be topped up after a short time.
Dutch Oven in the oven
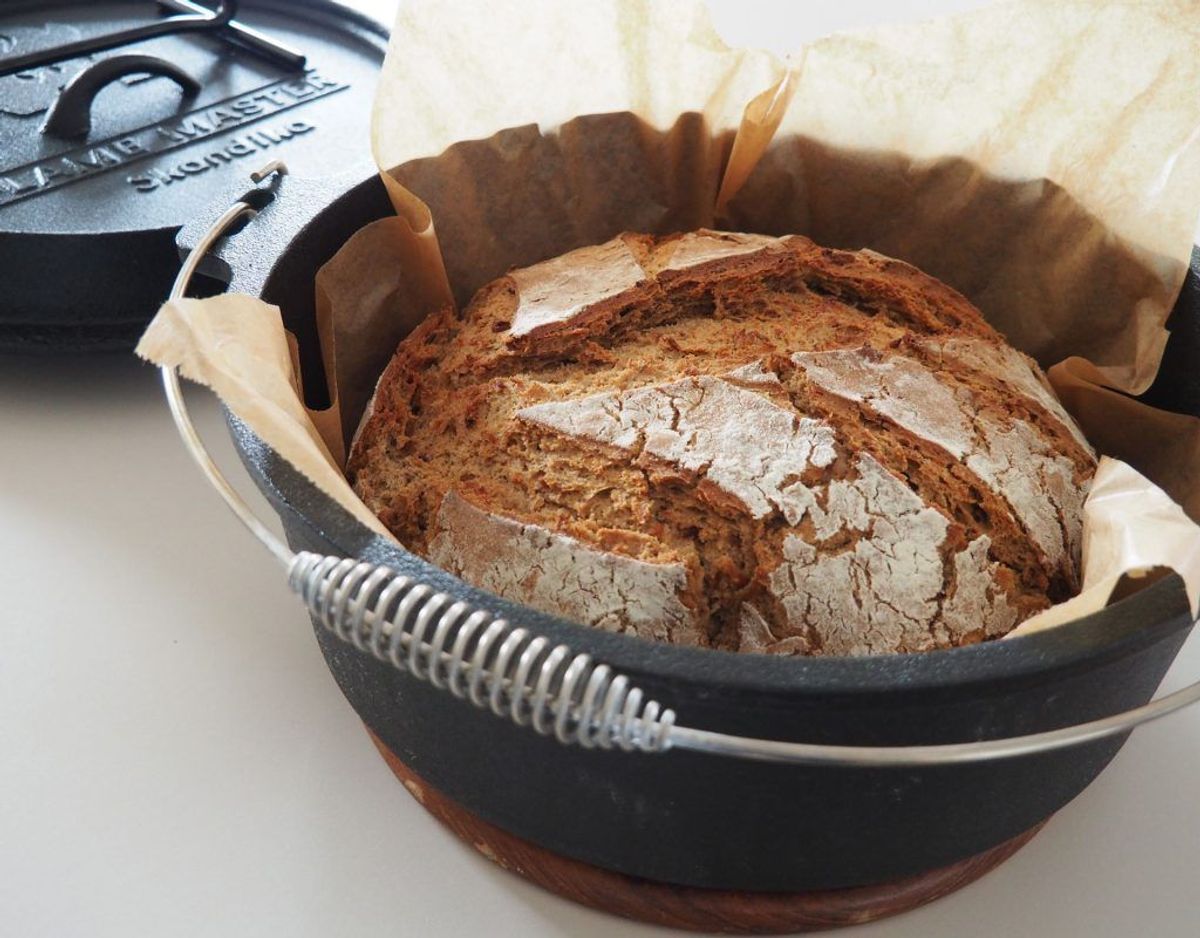
The Dutch oven is also a real all-rounder for baking bread, pizza, roasts and casseroles at home. A Dutch Oven without feet is recommended for this, as it is easier to place on the rack in the oven. When choosing, pay attention to the dimensions and size to ensure that the Dutch oven really fits in your oven.
Tip: It often makes sense to heat the Dutch Oven in the oven for a few minutes before you start baking and cooking. This way, the pot has already optimally stored the heat.
What accessories do I need for the Dutch Oven?
We recommend the following accessories for your Dutch Oven to make handling your Dutch Oven as easy and safe as possible.
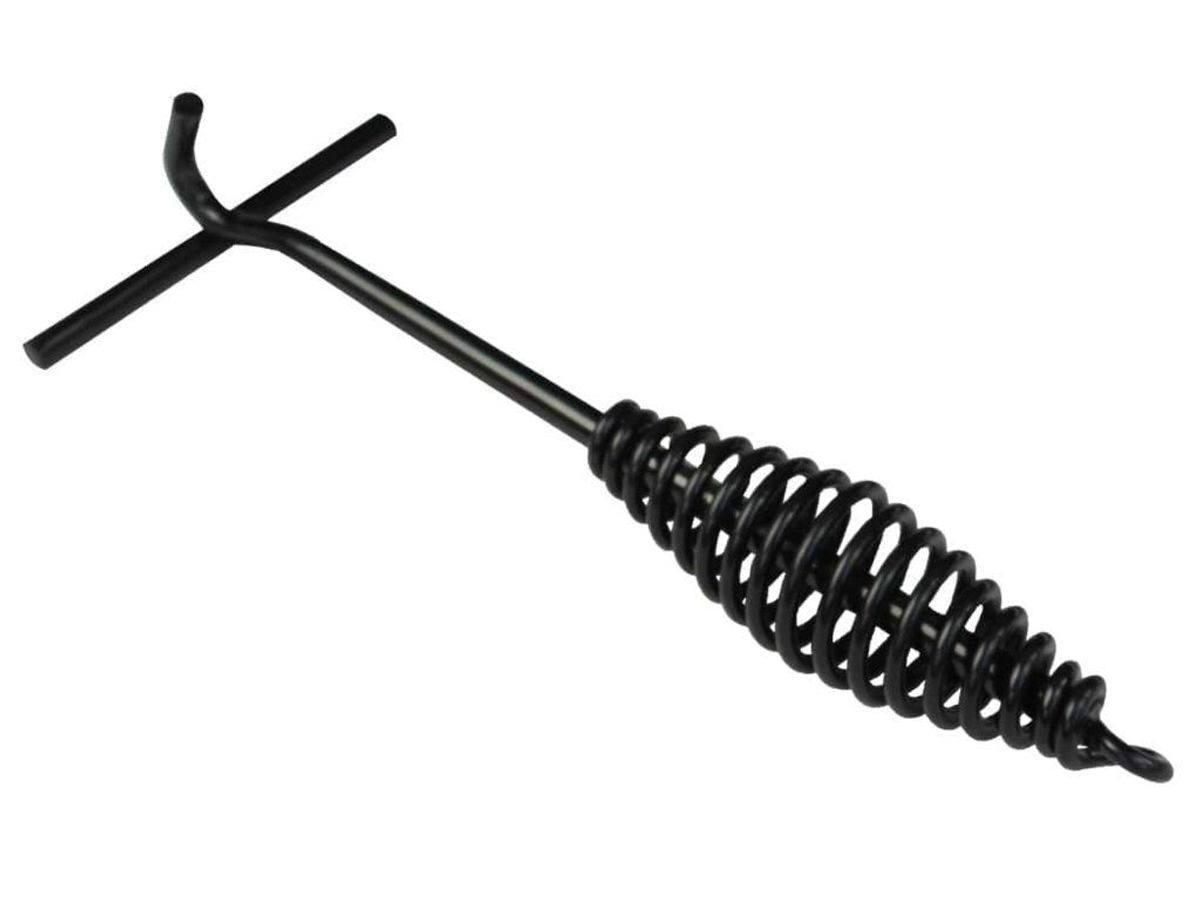
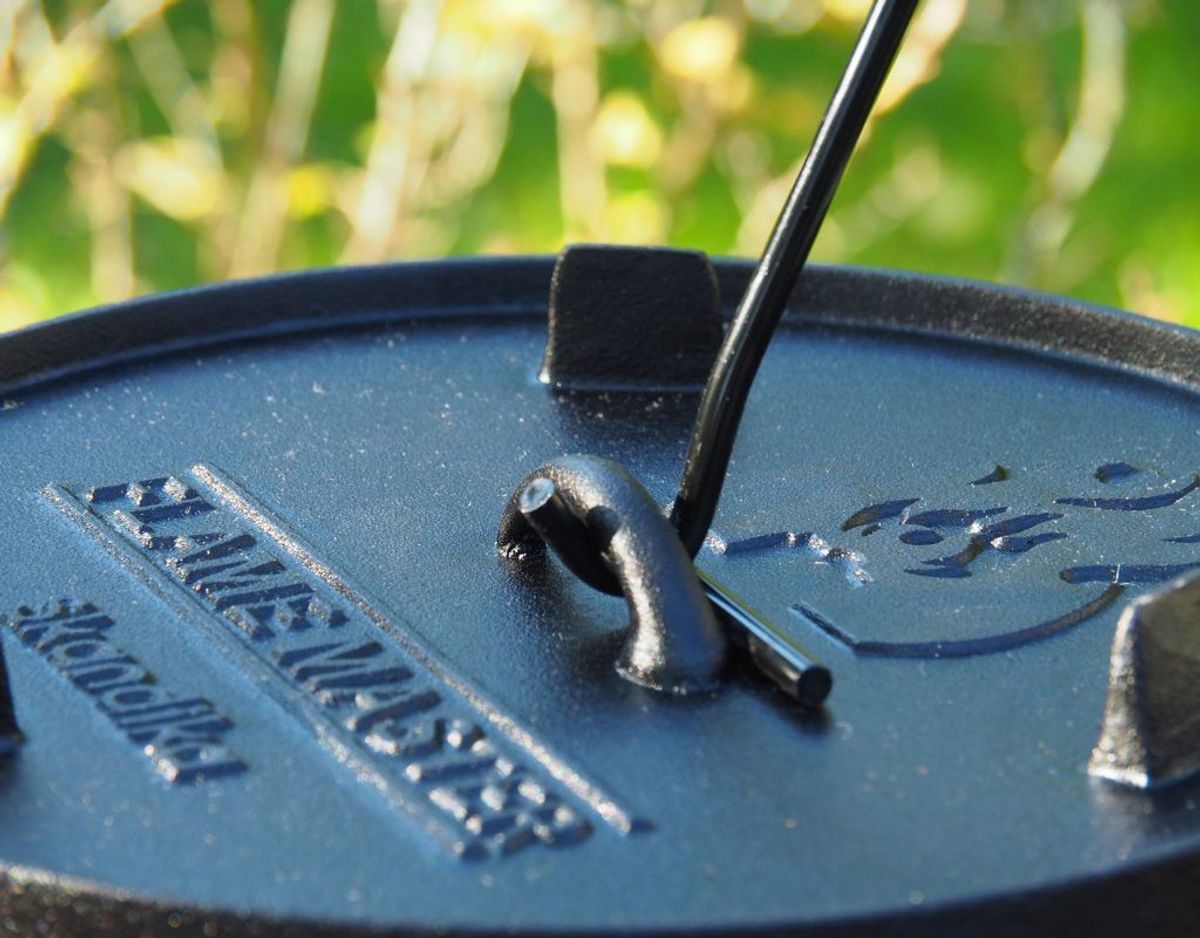
- A Dutch Oven lid lifter helps you to lift the hot lid safely and in a horizontal position without ash falling into the pot.
- Use heat-resistant gloves to prevent burns.
- Also recommended: a Dutch Oven bag for the correct storage and transport of the cast iron pot.
- To light the briquettes quickly and, above all, safely, you can buy a lighter chimney.
- A ring cleaner is recommended for cleaning stubborn stains.
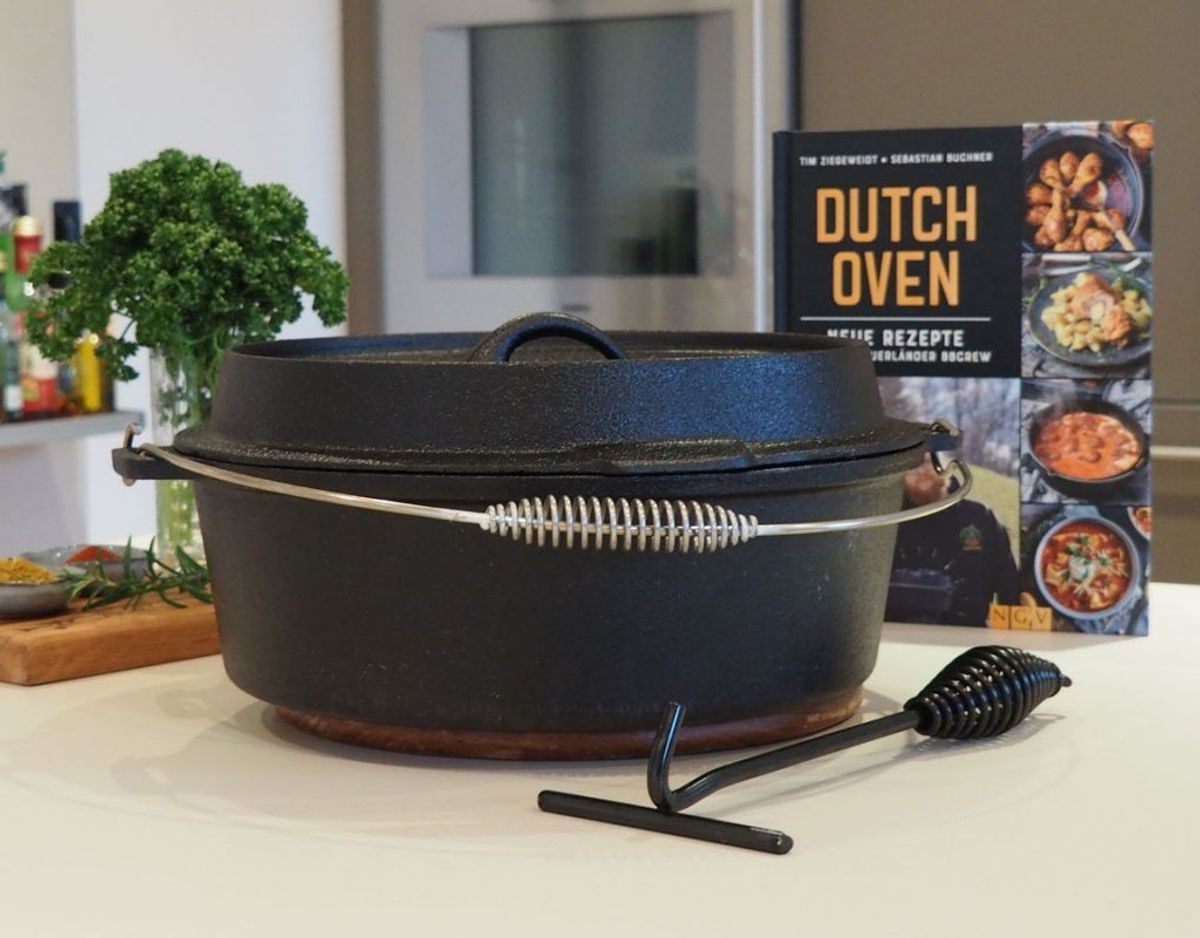
Skandika Dutch Oven - incl. cookbook by the Sauerländer BBCrew
Our high-quality Dutch Ovens are available in three sizes: 4, 5.5 and 10.8 litres. Each with or without feet. They are pre-fired and therefore ready for immediate use. In addition to a practical lid lifter and robust carrying bag, you will also receive a free cookbook from the YouTube-famous Sauerland BBCrew. The Dutch Oven cookbook by Tim Ziegeweidt and Sebastian Buchner is a bestseller on Amazon and inspires with delicious classics and creative Dutch Oven recipe ideas. With our Dutch Oven sets, you'll be ready to start cooking straight away!
Now you are well prepared for your outdoor cooking. Have fun cooking!

