
Tent pitching: 3 tips & step-by-step instructions
Important information about the campsite and pitching the tent in 6 simple steps
The next camping season is just around the corner. The equipment is already at home, but you're wondering what you need to consider when setting up your tent? Whether you're new to camping or want to brush up on your knowledge. We've put together useful tips for you to consider and show you step-by-step how to pitch your tent safely and stably.
Tip 1: Test setup before the holiday
The tent set-up should be practised before the holiday and carried out in peace. This is best done at home in the garden or, for smaller tents, in the living room.
As a camping newbie, you will familiarise yourself with the features of the tent and know what to do immediately on your camping holiday. If the tent is new, read the enclosed instructions carefully. Always remember that the stability of the tent, the safety of the people and the protection of the materials are always important for a well thought-out set-up.
Even if this is not your first time pitching a tent, a test pitch is a good idea. This way you can check again whether the tent has survived storage well, is intact and all the necessary individual parts such as pegs, guy ropes, poles and cabins are present.
Tip 2: The ideal campsite
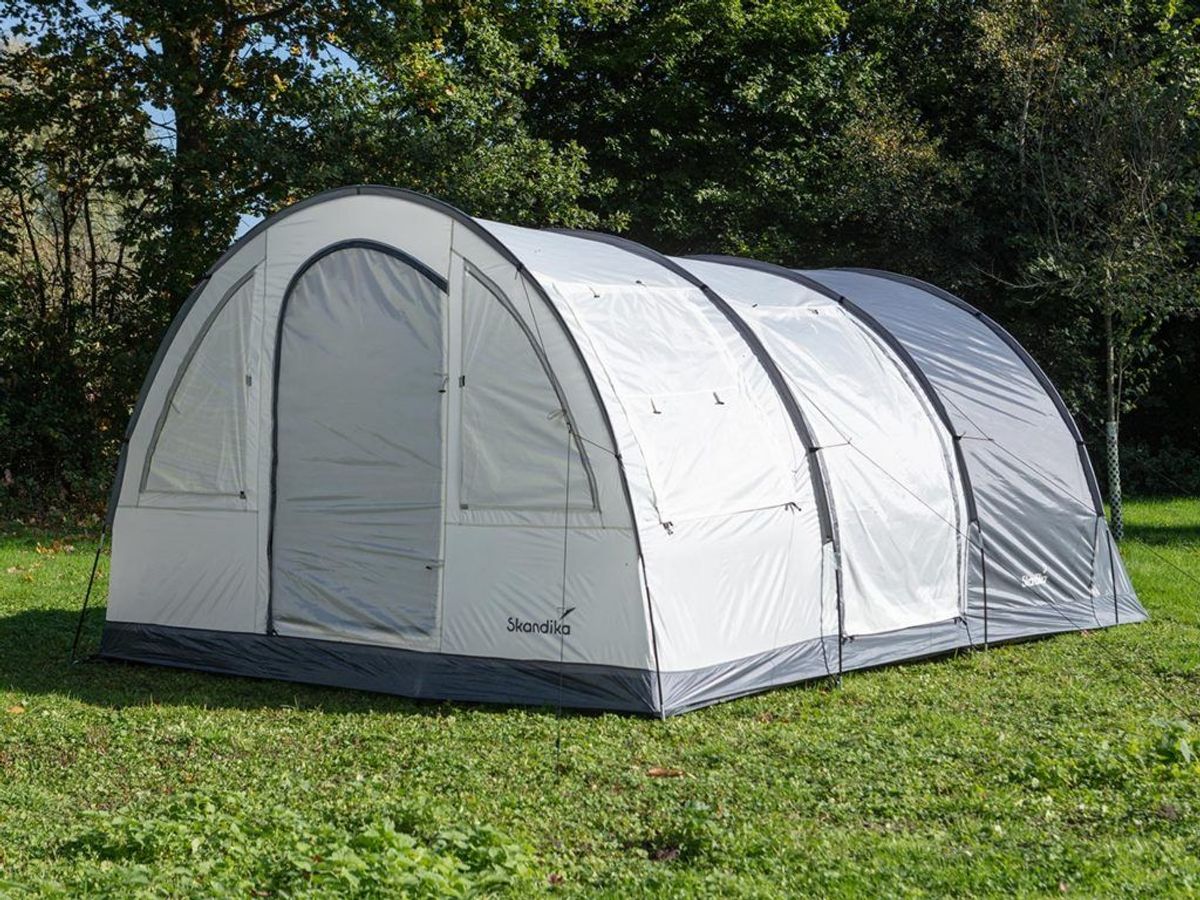
When choosing a suitable tent pitch, both the ground and the surroundings play an important role.
It is important that there is enough space and that you take into account not only the base area of the tent but also the guy lines. Bear in mind that some tent constructions require more space for tensioning than others. The pitch should always be as level as possible and should not be lower than the surrounding area in any hollow. With a slightly raised pitch, you avoid water accumulating in the rain and the inside of the tent stays nice and dry.
Never pitch your tent under trees or directly next to bushes. Firstly, rotten branches could fall on the tent in the rain and wind and injure people as well as the tent itself. Secondly, this prevents resin from dripping from the tree onto the tent, which could damage the waterproofing.
Make sure that the ground is free of roots. Also clear the campsite of pointed stones, branches and any obstructing objects that could damage the tent or dig into your back at night. Although the floor of modern tents is highly resistant to water and abrasion, the ground is the most important prerequisite for comfortable camping. This also protects the materials.
When choosing a campsite, also consider the direction of the wind. Ideally, the tent entrance should be on the side facing away from the wind. This prevents gusts of wind and rain from entering the tent and even blowing it over. Incidentally, you should refrain from pitching in strong winds, as this makes pitching much more difficult. It is better to wait a moment until the wind dies down before you start pitching the tent.
Also keep a safe distance from bodies of water and fireplaces**. The same applies to beehives. You should also keep a safe distance from mountains, as stones, scree or avalanches could come loose.
Tip 3: Everything works better in pairs
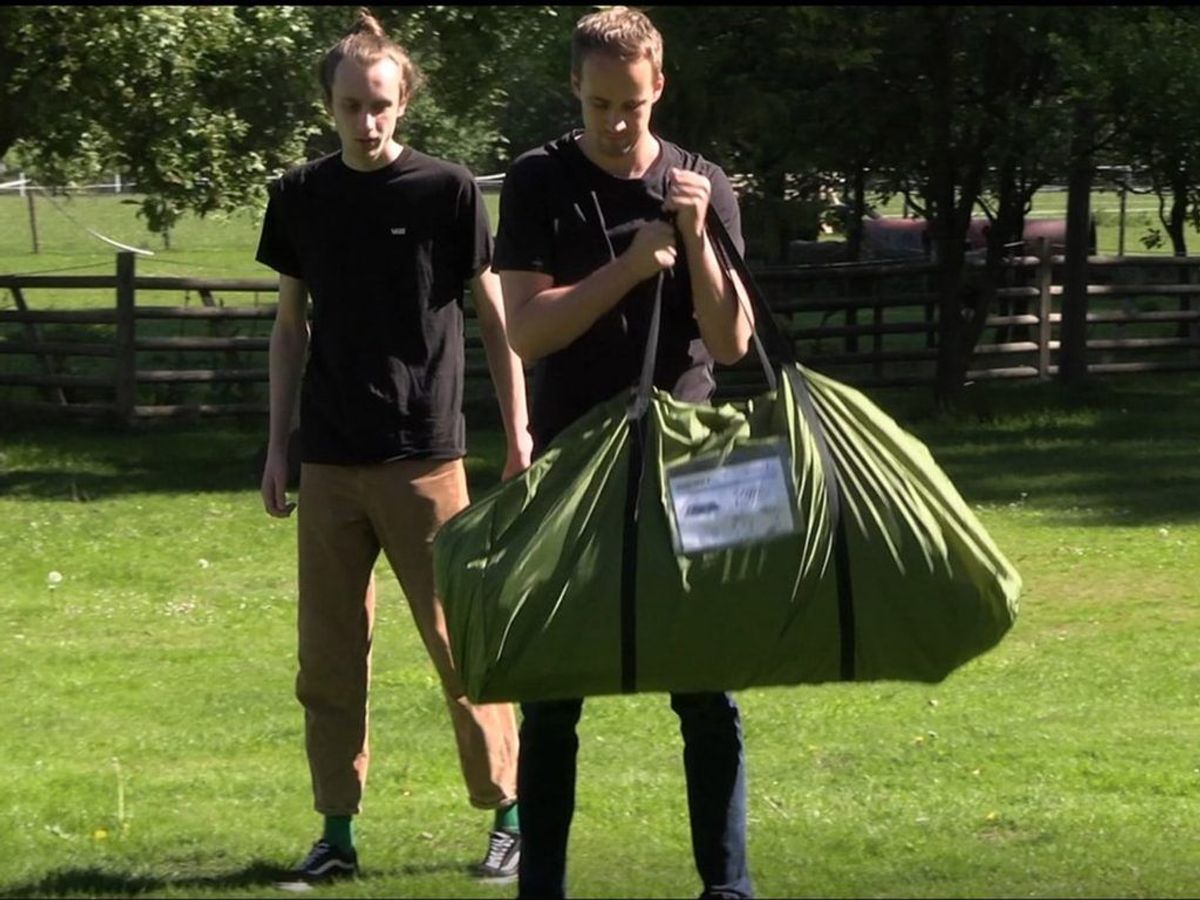
Many things work better with two people - including pitching the tent. Even though we do everything we can to make pitching the tent as easy as possible, e.g. thanks to colour-coded poles, additional helping hands are recommended.
Especially with larger and therefore usually more complex tents, pitching a tent with two people is not only easier, but also quicker, as more poles, pegs etc. need to be placed correctly.
A small exception is inflatable tents, so-called air tents. These can easily be set up by just one person.
Tent construction in 6 steps
1. prepare equipment and set up the tent
Take the tent and all the accessories out of the transport bag and place everything separately in front of you to get an overview of the equipment.
In the next step, choose the right tent pitch as soon as it has been cleared of all obstructions such as branches and extend the flysheet. If it is windy, you should already secure the corners with pegs. Anchor these in the ground at a 45° angle. When pitching the tent, make sure that the entrance is on the windward side. This will give the wind less of an attack surface. All zips should be closed.
2. connect the tent poles and insert them into the channels
Depending on its size and construction, a tent has different numbers of tent poles. Take the matching counterparts and join them together. The fibreglass tent poles are often connected with an elastic cord. This makes it easier to put them together and to fold them when the tent is taken down. You can simply push steel poles together.
Place the poles on the flat tent as soon as you have joined the individual poles together. If the tent poles are of different lengths, coloured markings will help you to find the correct pole channel. By placing them on the tent, you can check again that all poles are in place and in the right position. Then insert the assembled poles into the correct pole channel.
_Tip: Push the rods instead of pulling them. This will prevent the connection between the individual rods from coming loose and you having to push them together again.
3. place poles on metal pins and erect tent
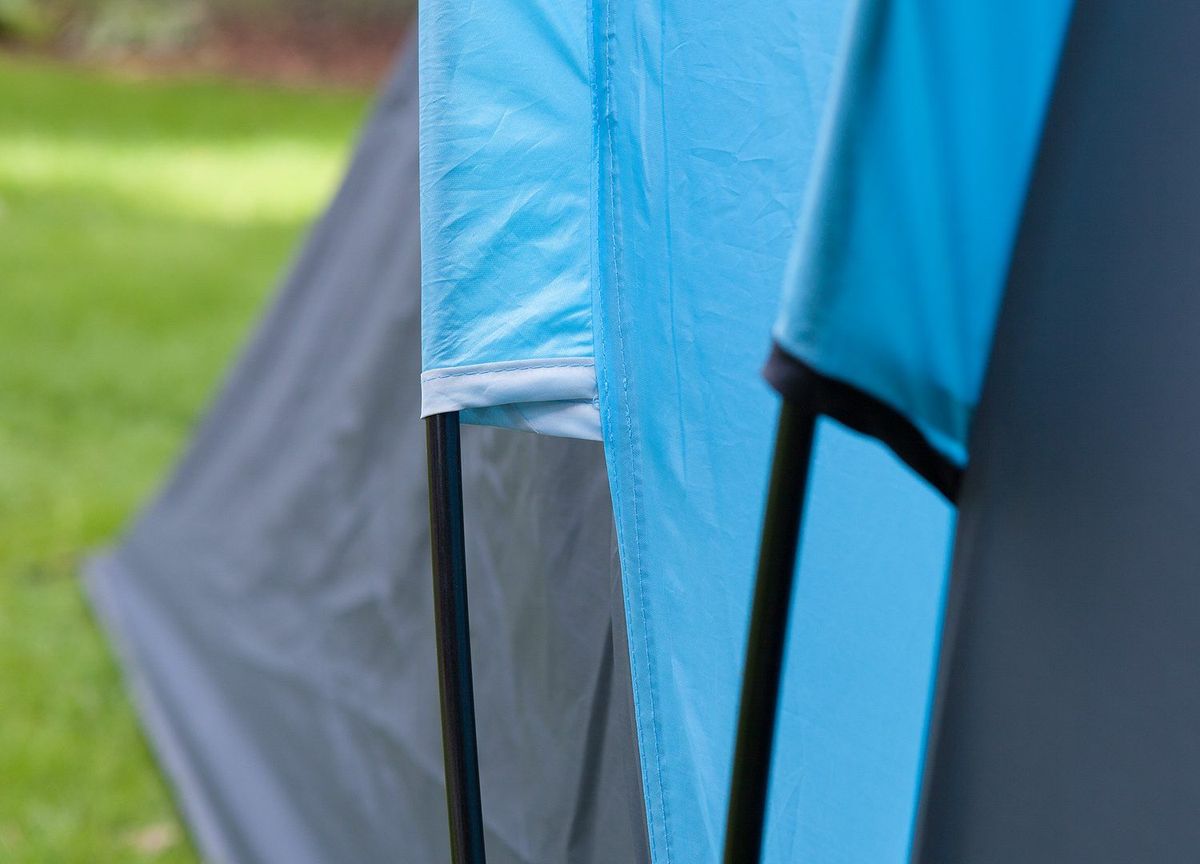
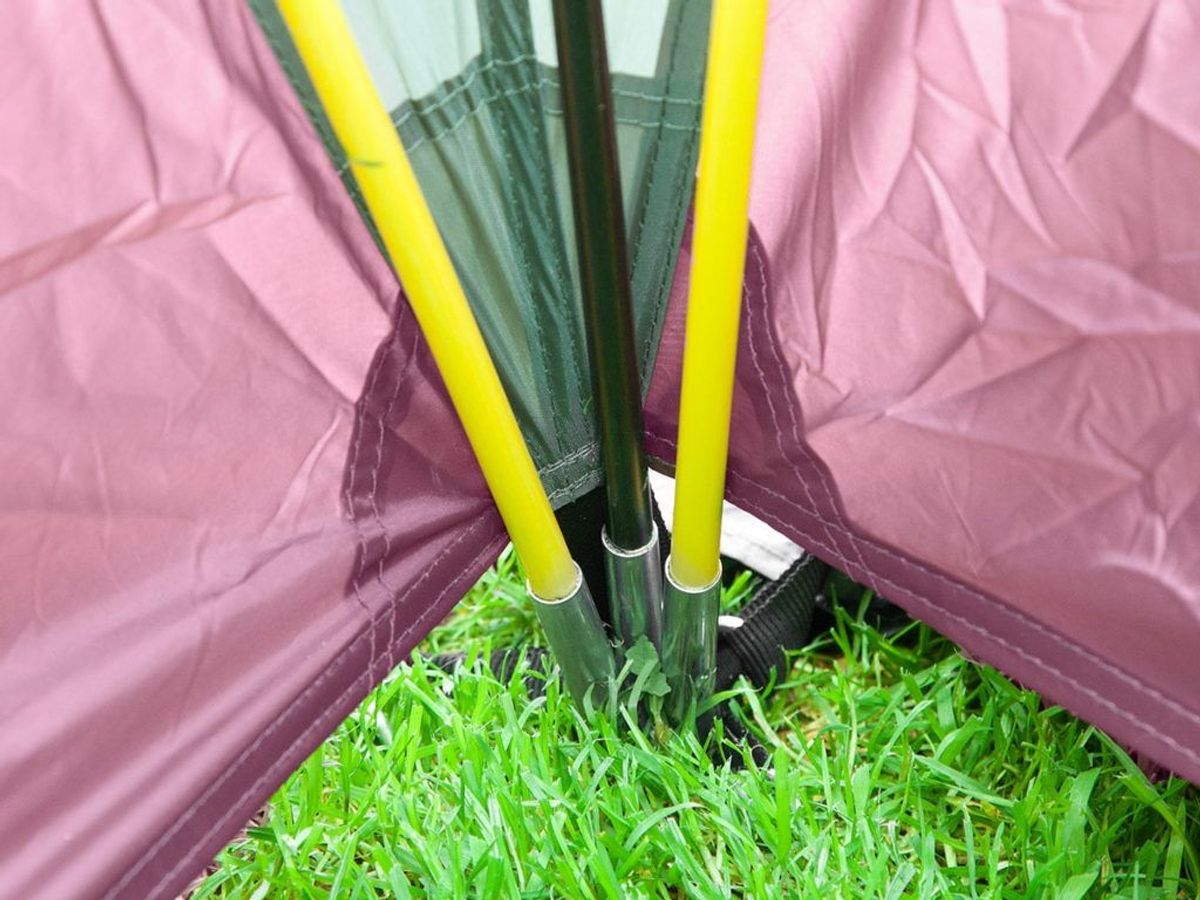
Once you have threaded all the rods into the corresponding rod channels, you can attach the ends of the rods to the metal pins provided. Start with one side of the rod, insert the metal pin into the end of the rod and continue with the other side of the rod. Fastening on both sides creates the arch shape. Once this is done, do the same with all the other rods.
In addition to the pole channel, some tents also have plastic hooks for attaching the tent poles. Hook these in for more stability.
Once all the tent poles have been inserted into the metal pins, the tent can be lifted and, if necessary, readjusted and aligned on the campsite.
4. secure the tent to the ground with pegs
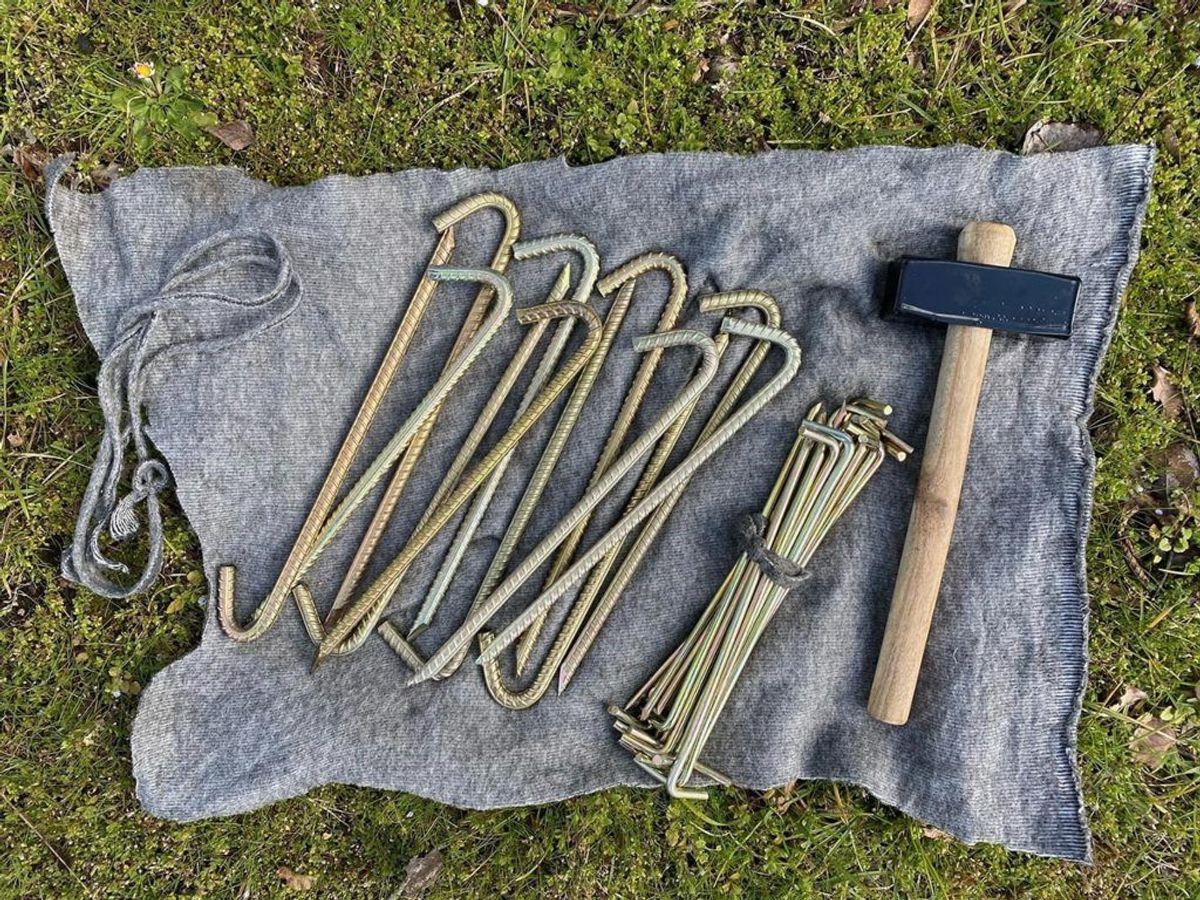
Once you have aligned the tent correctly, anchor it to the ground with pegs. You will find lugs or similar devices for the pegs around the tent. Make sure that you utilise all available options to optimally protect the tent from gusts of wind. Attach the pegs at a 45° angle. The tip of the peg should point in the direction of the tent. Make sure that you push the pegs into the ground as far as they will go. On the one hand, this provides stability, but also ensures that nobody stumbles.
5. tension the tent with guy ropes
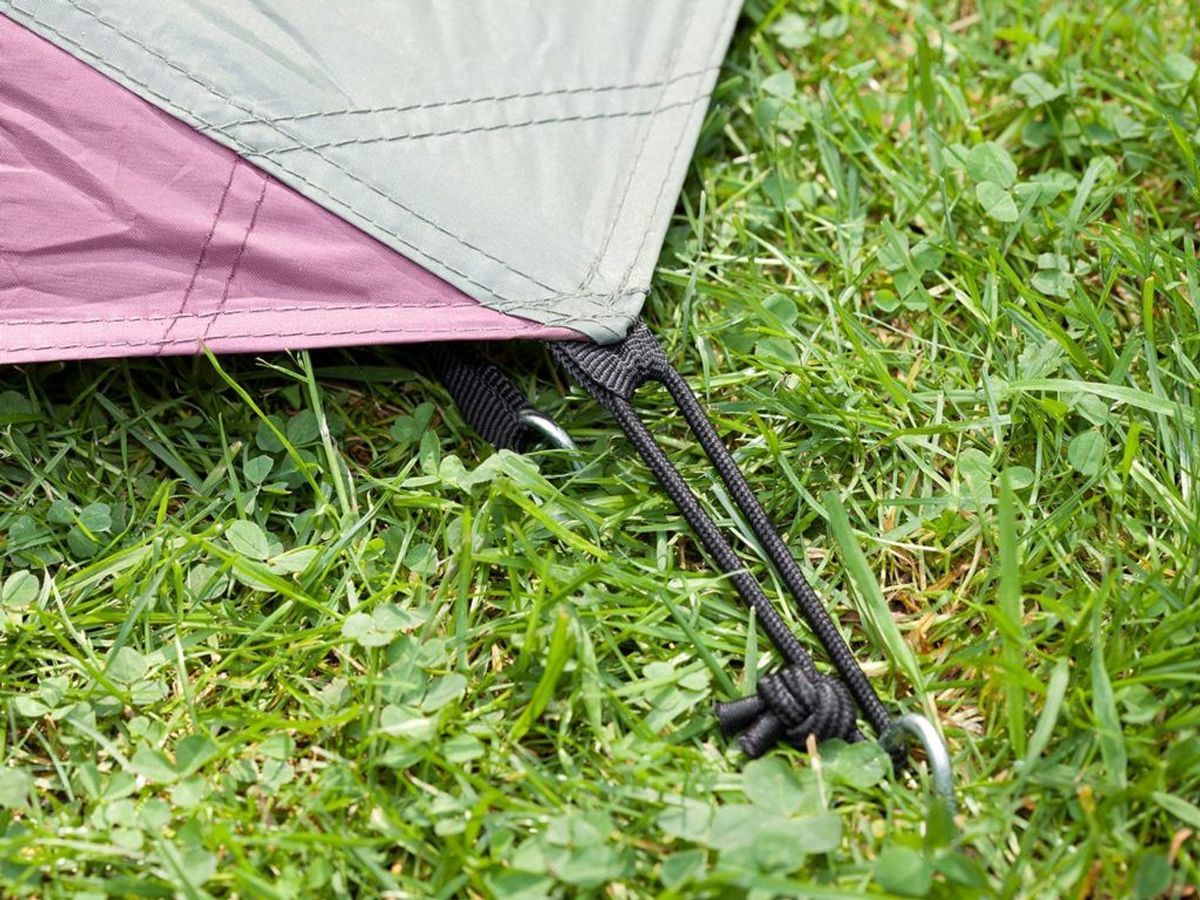
By additionally securing the tent with ** guy ropes**, you make it storm and weatherproof. At the same time, correct tensioning ensures a quieter background noise, as the tent does not flap with every breath of wind. Regardless of the size, guy ropes should be used with every tent. Before tensioning, make sure again that all zips are really closed.
The guy ropes should be attached to all *pegging points* and anchored in the ground with pegs at a suitable distance from the tent. Again, hammer the pegs into the ground at a 45° angle and with the tip of the peg pointing in the direction of the tent - this is the only way they will exert the maximum tensile force. Again, make sure that the pegs are in the ground as far as they will go.
Each guy line is equipped with a string or line tensioner. Pull the lines taut using the line tensioner as soon as the pegs are firmly in the ground.
It may be necessary to move the pegs several times until the tent is taut and wrinkle-free everywhere. You can then tension the sun sail if you wish and the tent has one.

6. optional: insert inner tent
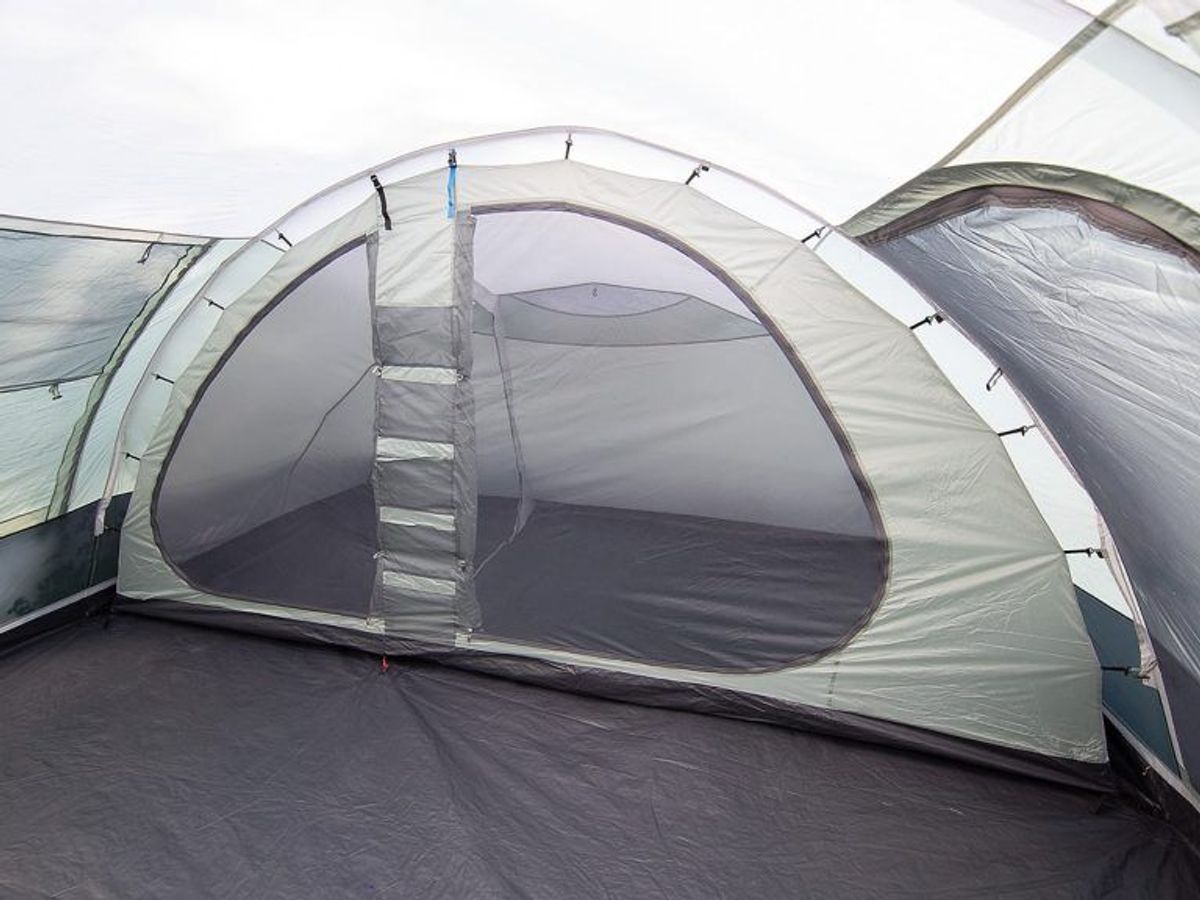
As soon as the outer tent is up and anchored, you can turn your attention to the inner tent, provided the tent has one or more sleeping cabins, for example.
Put the inner tent in the right place in the tent. Start at the back of the inner tent and work your way forwards step by step. To do this, gradually hook the clips on the outside of the inner tent onto the corresponding rings on the inside of the outer tent. This applies to both the floor and the tent walls until all the clips are finally attached and the inner tent is firmly connected to the outer tent.
_Tip: You can also omit inner tents and sleeping cabins to increase the living space or save weight during transport. However, check that the tent has a suitably large groundsheet and that you won't be lying on the grass later on.
Voilà! Your tent is ready and it's time to get cosy! In this short guide, we have summarised the most important points for successful tent pitching. If you follow our tips correctly, nothing should stand in the way of your next camping trip.
